![]()
dLocal
Local payments in emerging markets made easy
Website: dlocal.com
Login: merchant.dlocal.com
Follow the guidance for setting up a connection with dLocal payment service provider.
Set Up Account
Step 1: Contact dLocal support manager
Send a request on the website. Submit the required documents to verify your account and gain access.
Step 2: Set up your account
Log into the Merchant application. Go to the 'Integration' → Integration Settings.
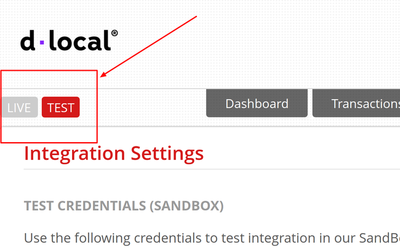
Note
Please note that dlocal has Test and Live integration panel. Be sure that you operate in the right mode.
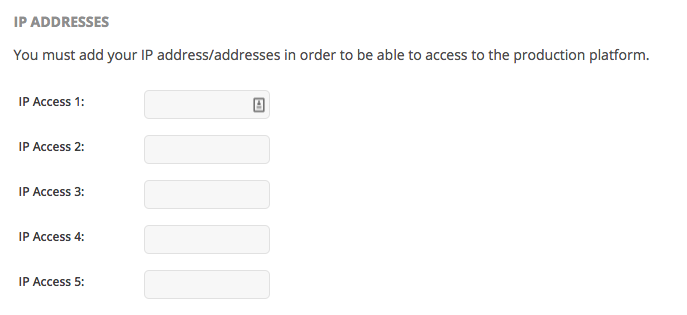
Whitelist all your necessary IP addresses including Corefy whitelist IPs.
Since Corefy and dLocal have implemented integration only for payouts yet, you shouldn't configure Return URL, Confirm URL, and Refund URL: it is correct to leave them empty.
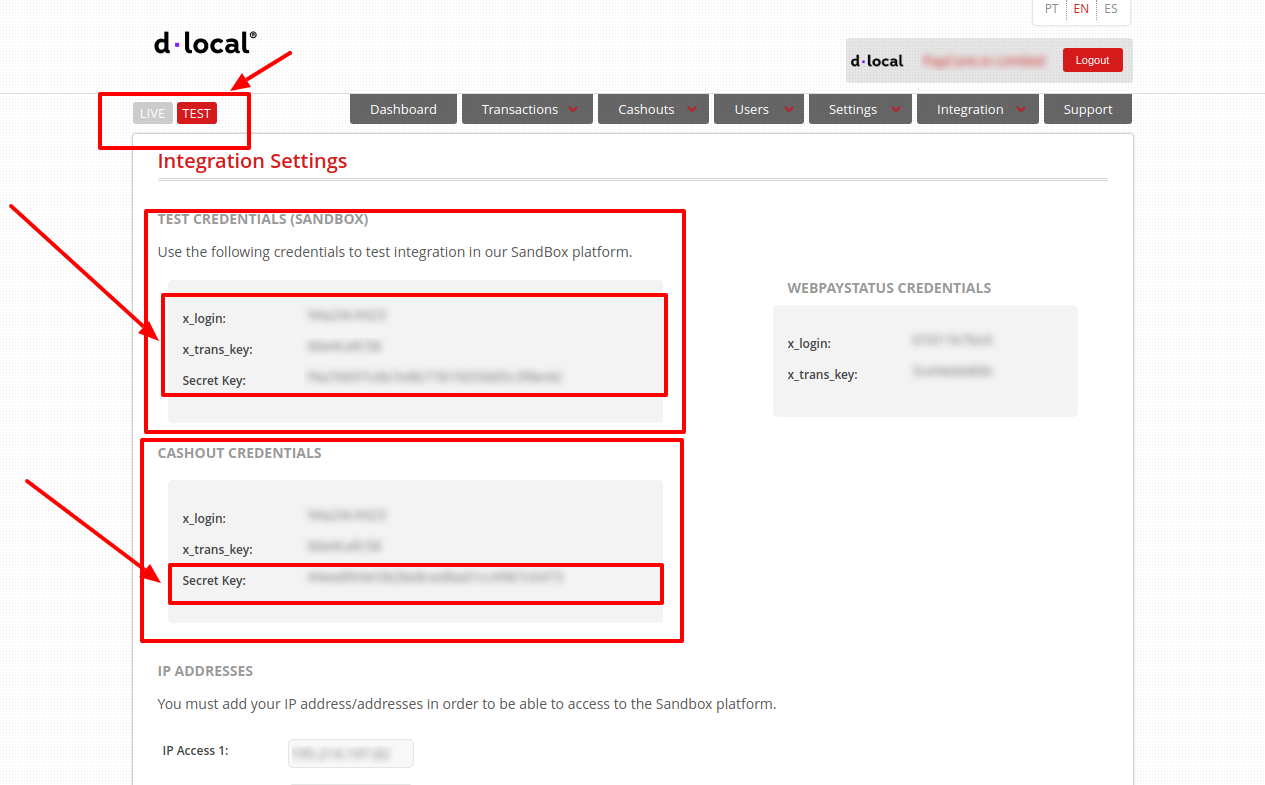
Step 3: Get credentials
Credentials that have to be issued:
-
Test (Live) Credentials:
- x_login
- x_trans_key
- Secret Key
-
Cashout credentials:
- Secret key
Be aware
Once you have finished connection testing, make sure dLocal has activated your account and you have got the production key.
When you go live, switch from Test to Live mode, update the API credentials by replacing the test key with the production key and necessarily updating the whitelisted IPs.
Connect Provider Account
Step 1. Connect account at the Corefy Dashboard
Press Connect at dLocal Provider Overview page in 'New connection' to open Connection form.
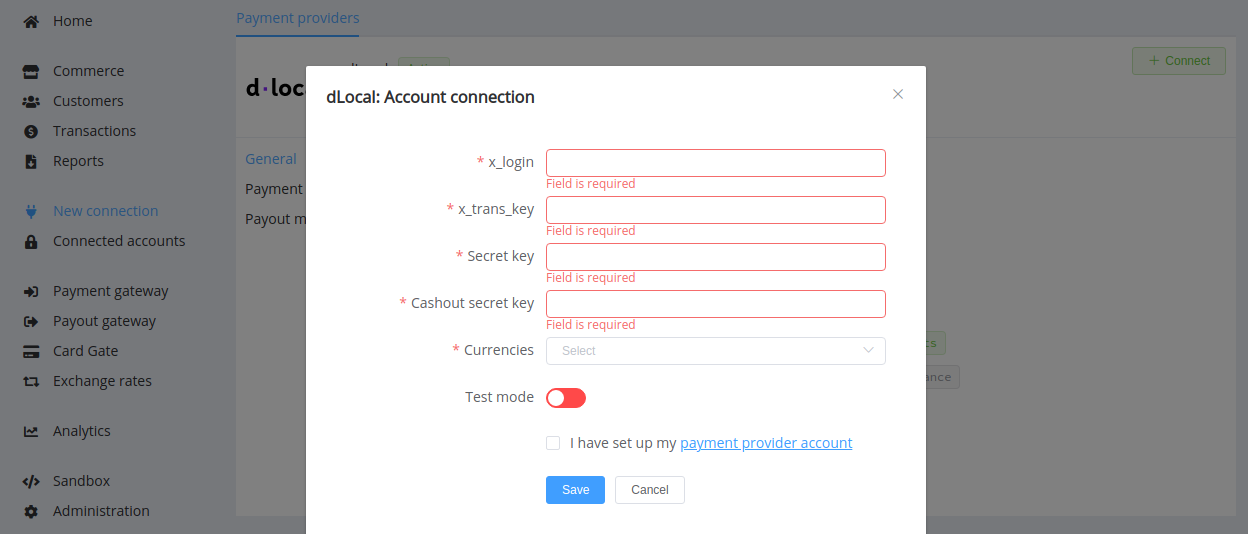
Enter credentials:
- x_login
- x_trans_key
- Secret Key
- Cashout secret key
Choose Currencies according to available currencies for your dLocal account.
Make sure enable test mode if you specify test credentials (or vice versa).
Success
You have connected dLocal provider account!
Still looking for help connecting your dLocal account?